
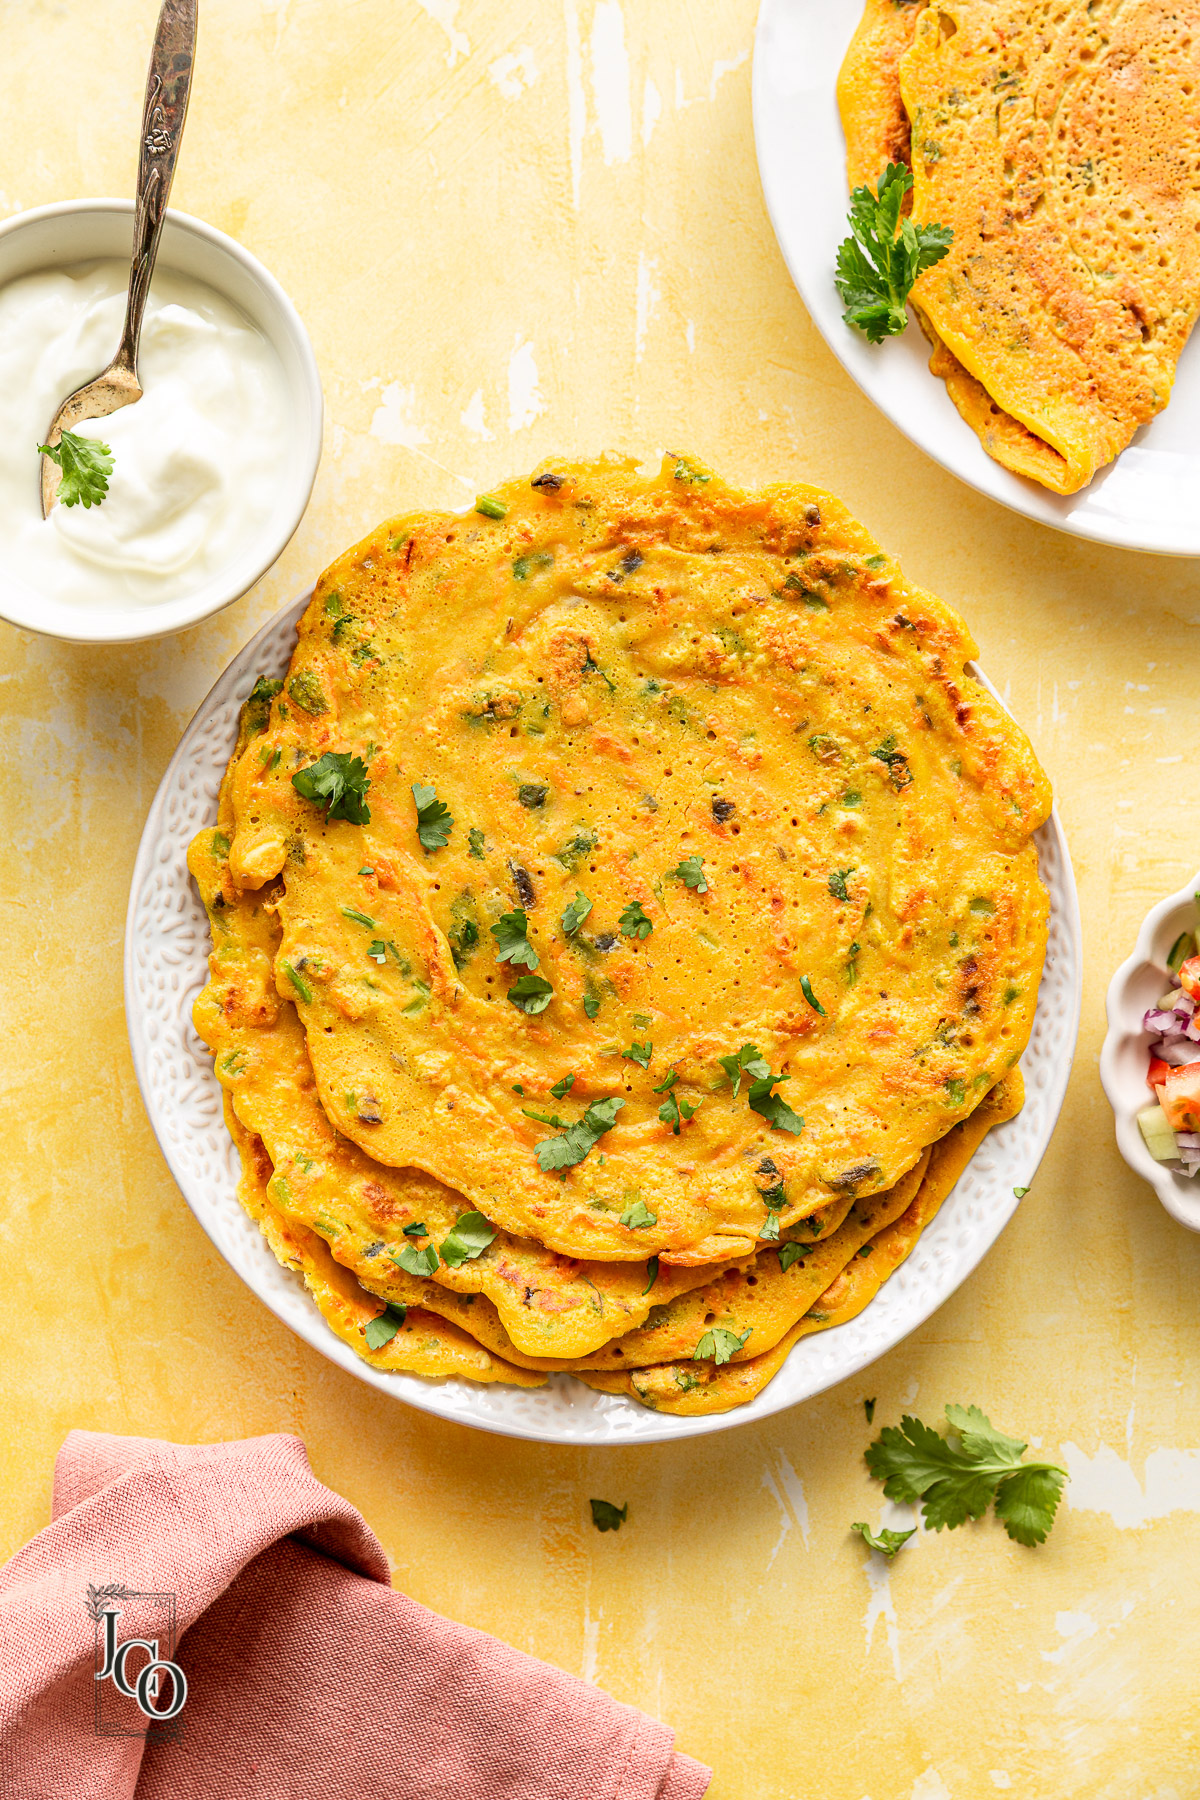
Besan Chilla
Some recipes are simple on paper but extraordinary in practice. Besan Chilla — a golden, crispy chickpea flour pancake — is exactly that. Ready in under 20 minutes, endlessly customisable, packed with protein, and entirely plant-based, it’s the kind of breakfast that fuels your whole morning without weighing you down.
Also called cheela, puda, or pudla depending on which part of India you’re from, this humble dish has been a staple in Indian households for generations. And once you start making it, you’ll understand why — it’s just too good, too easy, and too satisfying to ever stop.
🌟 Why Besan Chilla Deserves a Place in Your Breakfast Rotation
- High in protein: Besan (chickpea flour) is naturally rich in plant protein — a great start to the day
- Gluten-free: Naturally free from wheat, making it suitable for those avoiding gluten
- Ready in 20 minutes: Faster than most breakfasts, with minimal washing up
- 100% vegan: No eggs, no dairy needed
- Kid-friendly: Mild, crispy, and easy to eat — kids love them
- Budget-friendly: Besan is one of the most affordable flours you can buy
🛒 Ingredients
Makes 4–5 chillas | Serves 2 | Ready in 20 minutes
For the Chilla Batter
- 1 cup (100g) besan (chickpea flour / gram flour)
- ½ cup water (adjust for consistency)
- 1 medium onion, finely chopped
- 1 small tomato, finely chopped (remove excess seeds)
- 1–2 green chillies, finely chopped (adjust to taste)
- 1 tsp grated ginger
- 2 tbsp fresh coriander leaves, finely chopped
- ½ tsp cumin seeds or cumin powder
- ½ tsp turmeric powder
- ½ tsp red chilli powder
- ¼ tsp carom seeds (ajwain) — optional but wonderful
- Salt to taste
- 1 tsp lemon juice
- Oil or ghee for cooking (about 1 tsp per chilla)
Optional Add-ins (Pick Your Favourites!)
- 2 tbsp grated carrot
- 2 tbsp finely chopped capsicum
- 2 tbsp corn kernels
- 2 tbsp crumbled paneer or grated cheese
- A handful of baby spinach, finely chopped
- 1 tbsp sesame seeds
For Serving
- Green coriander chutney
- Tamarind chutney
- Yoghurt / hung curd
- Tomato ketchup (kids love this!)
👩🍳 Step-by-Step Instructions
Step 1: Make the Batter
In a large mixing bowl, sift the besan to remove any lumps — this is the one step you shouldn’t skip, as lumpy batter leads to uneven chillas. Add turmeric, red chilli powder, cumin, ajwain, and salt. Mix the dry ingredients together first.
Gradually add water, whisking continuously to form a smooth, lump-free batter. The consistency should be like thin pancake batter — pourable but not watery. It should coat the back of a spoon lightly. Add too much water and the chilla won’t hold together; too little and it won’t spread properly.
Now fold in the chopped onion, tomato, green chilli, ginger, coriander, and lemon juice. If you’re using any optional vegetables, add them now too. Let the batter rest for 5 minutes — this gives the besan time to hydrate properly and makes for a crispier chilla.
💡 Tip: Add a pinch of baking soda to the batter for extra fluffiness inside while keeping the edges crispy!
Step 2: Heat the Pan
Use a flat non-stick tawa or a well-seasoned cast iron skillet. Heat it on medium-high until it’s properly hot — a drop of water should sizzle and evaporate immediately. This is crucial; a not-hot-enough pan leads to a chilla that sticks and tears.
Lightly grease the pan with ½ tsp oil. You can use a paper towel to spread it evenly, just like a dosa tawa.
Step 3: Pour and Spread
Take a ladleful of batter (about ¼ cup) and pour it into the centre of the hot pan. Working quickly, use the back of the ladle to spread it in a circular motion, moving outward from the centre, until you have a round chilla about 6–7 inches in diameter. Think of it like spreading a dosa — confident, circular movements.
Drizzle ½ tsp oil around the edges of the chilla and a few drops on top.
Step 4: Cook Until Golden and Crispy
Cook on medium-high heat for 2–3 minutes until the edges start to lift and the top surface looks set (no wet batter visible). The bottom should be golden and crispy — peek underneath with a spatula to check.
Flip and cook the other side for another 1–2 minutes until golden. Press gently with the spatula for even contact and a crispier surface.
Remove from the pan and serve immediately. Repeat with the remaining batter. Stir the batter before each chilla as the vegetables tend to settle.
⏱ Quick Summary
- Prep time: 10 minutes
- Cook time: 10 minutes
- Total time: 20 minutes
- Serves: 2
- Makes: 4–5 chillas
💡 Pro Tips for Crispy, Perfect Besan Chilla Every Time
- Sift your besan. Always. Lumps in the batter are the enemy of a smooth, evenly cooked chilla. One minute of sifting saves a lot of frustration.
- The pan must be properly hot before you pour the batter. A lukewarm pan results in a thick, soft chilla that sticks. Medium-high heat is your friend.
- Rest your batter. Even 5 minutes of resting makes a noticeable difference. The besan absorbs the moisture fully and the batter spreads more easily.
- Don’t make them too thick. A thinner chilla cooks faster, crisps up beautifully, and is more satisfying. Aim for roughly 3–4mm thickness.
- Remove excess moisture from tomatoes. Squeeze the chopped tomato lightly to remove seeds and liquid, or the batter will become too wet.
- Season your batter generously. Besan on its own is mild — don’t be shy with the salt and spices. Taste a tiny bit of batter and adjust before cooking.
- Use ghee for extra flavour. Even just ½ tsp of ghee added to the pan while cooking transforms the flavour profile completely.
🌿 Nutritional Highlights
Besan chilla is genuinely one of the most nutritious quick breakfasts you can make:
- High protein: Chickpea flour contains about 20g protein per 100g — impressive for a plant-based ingredient
- Rich in fibre: Keeps you full and supports gut health
- Low glycaemic index: Releases energy slowly, preventing mid-morning energy crashes
- Good source of iron and folate: Especially beneficial for vegetarians
- Naturally gluten-free: Safe for those with gluten sensitivity (check your besan is certified GF if you have coeliac disease)
Approximate nutrition per chilla (without oil): 90–110 calories | 5–6g protein | 12g carbs | 2g fibre
🔄 Delicious Variations to Try
- Moong Dal Chilla: Replace half the besan with soaked and blended yellow moong dal for an even higher protein version — popular across Rajasthan and Gujarat.
- Paneer Stuffed Chilla: Make the chilla slightly thicker, and once cooked on one side, place a spoonful of spiced crumbled paneer in the centre, fold like a wrap, and cook for another minute. A complete meal in itself!
- Palak (Spinach) Chilla: Blend a handful of spinach with the water before making the batter for a beautiful green chilla packed with iron.
- Cheese Chilla: Add grated mozzarella or processed cheese on top of the chilla just before flipping — kids go absolutely wild for this.
- Pizza Chilla: Spread a little tomato sauce on top, add chopped vegetables and cheese, and cook covered for a minute. An incredible lunchbox idea!
- Masala Oat Chilla: Replace ¼ cup of besan with quick oats blended into a coarse flour for added fibre and a nuttier flavour.
- Instant Rava Chilla: Add 2 tbsp fine semolina (rava) to the batter for an extra-crispy texture.
🍽 Serving Ideas
Besan chilla is endlessly versatile when it comes to how you serve it:
- Breakfast or brunch: Serve hot with green chutney and a cup of masala chai
- Light lunch: Roll up with a stuffing of paneer bhurji or aloo masala
- Lunchbox: Pack in a tiffin with a side of yoghurt — holds well for a few hours
- Evening snack: Make mini chillas and serve with various chutneys as a snack platter
- Party starter: Make small bite-sized chillas and top with a dollop of yoghurt and chutney as canapés
📦 Storage & Meal Prep
Besan chilla is best eaten fresh off the tawa when it’s at peak crispiness. However:
- Batter storage: The batter (without vegetables added) can be refrigerated for up to 2 days. Add vegetables fresh just before cooking.
- Cooked chillas: Can be stored in the fridge for up to a day. Reheat on a dry pan to restore crispiness — never microwave them as they turn soft and chewy.
- Freezing: Not recommended — the texture changes significantly after freezing.
❓ Frequently Asked Questions
My chilla keeps tearing when I try to flip it. What am I doing wrong?
Either the pan wasn’t hot enough before you poured the batter, or the chilla wasn’t cooked enough on the first side. Wait until the edges look dry and lift easily from the pan before attempting to flip. A thin, flexible spatula also helps enormously.
Can I make it without onion and garlic?
Absolutely! Skip the onion and add more grated vegetables like carrot, beetroot, or zucchini instead. It’s a great option for those following a satvik or Jain diet.
My chilla is not crispy. What went wrong?
A few possible reasons: the batter is too thick (add a splash more water), the pan isn’t hot enough (increase heat), or too much water from the tomatoes made the batter wet (squeeze out tomato moisture). Also, use a flat tawa rather than a curved frying pan for better heat distribution.
Is besan chilla suitable for diabetics?
Chickpea flour has a lower glycaemic index than wheat flour, making it a better choice for blood sugar management. However, please consult your doctor or nutritionist for personalised dietary advice.
Can I make besan chilla without oil?
You can reduce oil significantly — just a light brush is enough on a good non-stick pan. Completely oil-free chillas tend to stick and won’t be as crispy, but it’s possible if you have a very well-seasoned pan.
Final Thoughts
Besan Chilla is one of those recipes that proves you don’t need fancy ingredients or complicated techniques for an extraordinary meal. A cup of besan, some vegetables from your fridge, a handful of spices — and in 20 minutes you have a breakfast that’s wholesome, satisfying, and genuinely delicious.
It’s the kind of recipe that becomes a weekly habit without you even noticing. And once you start experimenting with the variations, it never gets boring.
Did you try this recipe? Tell me in the comments how yours turned out! Share your variation ideas — I’m always looking for new ways to make this classic even better. 💛
Found this recipe helpful? Save it to your Pinterest boards, share it with your foodie friends, and subscribe for more quick, wholesome Indian recipes every week!